Quickly change display settings with the Windows+P Shortcut
Display Switch is used to change the presentation mode of the main display of your Windows 10 computer or laptop to project on either the PC screen only, duplicate on second display, extend across all displays, or second screen only. If you have a projector or Interactive Display Panel, think of it as just a second monitor as it just works the same way.
By default, you can press the Win+P keys to open the Display Switch flyout. Then press or click on the option you want.
- PC screen only - Only the current main display is enabled. All other connected displays will be disabled. (When you're connected to a wireless projector, this option changes to Disconnect.)
- Duplicate - The main display will be mirrored on the second display.
- Extend - The main display is extended across the all connected display screens and allows you to have a desktop that spans them.
- Second Screen Only - The current main display will be disabled. All other connected displays will remain enabled with the second screen used as your new main display.
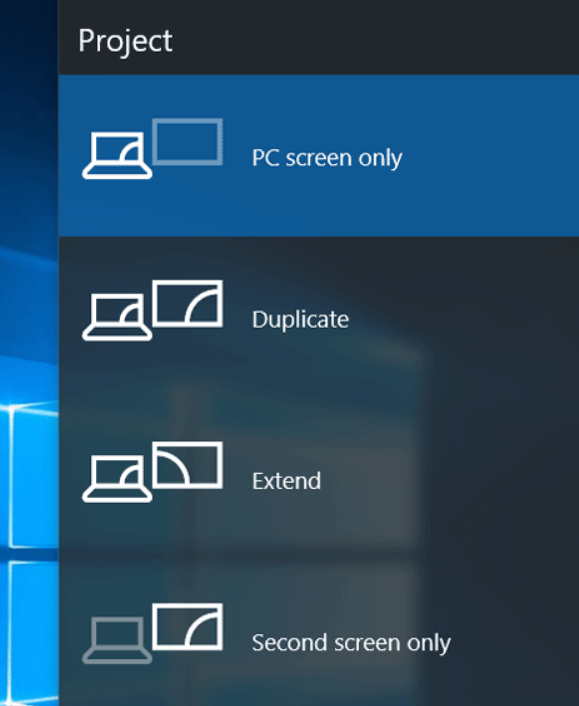
You can also press the Down Arrow key to choose the option you want and press Enter to apply. If you have a blank screen and can't see the menu, press the WIN+P keys, then the Down Arrow twice, and then Enter to set it back to Extend mode
Command Line options
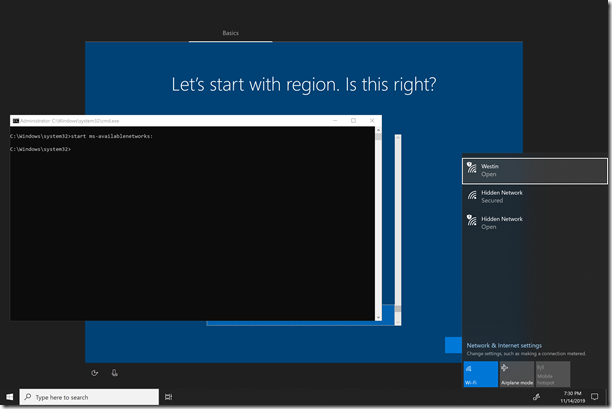
For more advanced users or setting up shortcuts, the display switch can also be controlled via the Windows command line prompt.
Project flyout to choose your option
%windir%\System32\DisplaySwitch.exe PC screen only
%windir%\System32\DisplaySwitch.exe /internal Duplicate
%windir%\System32\DisplaySwitch.exe /clone Extend
%windir%\System32\DisplaySwitch.exe /extend Second screen only
%windir%\System32\DisplaySwitch.exe /external